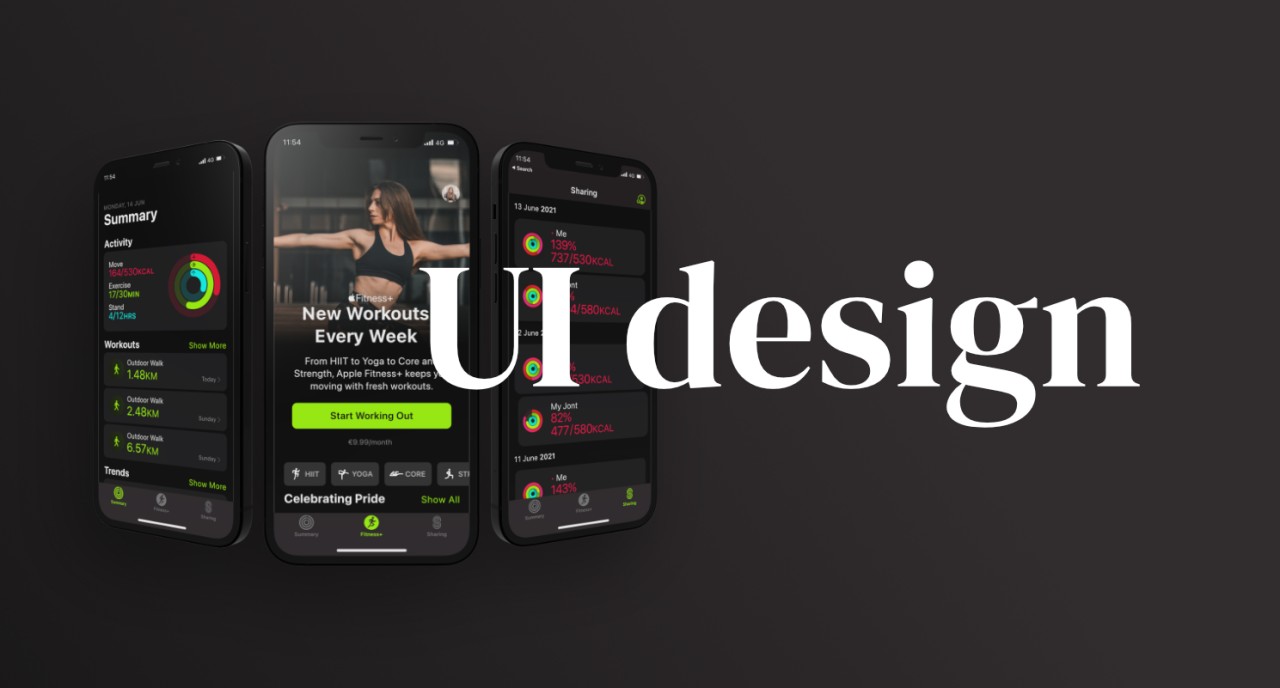
After doing work that required me to put together mock-ups, I came to realise that although I knew Affinity Designer, I had gaps in my knowledge with Affinity Photo. Furthermore, I wanted to understand in what contexts one would use Affinity Photo over Affinity Designer. To understand the use cases for Affinity Photo, I needed to have a well-rounded understanding of the tool.
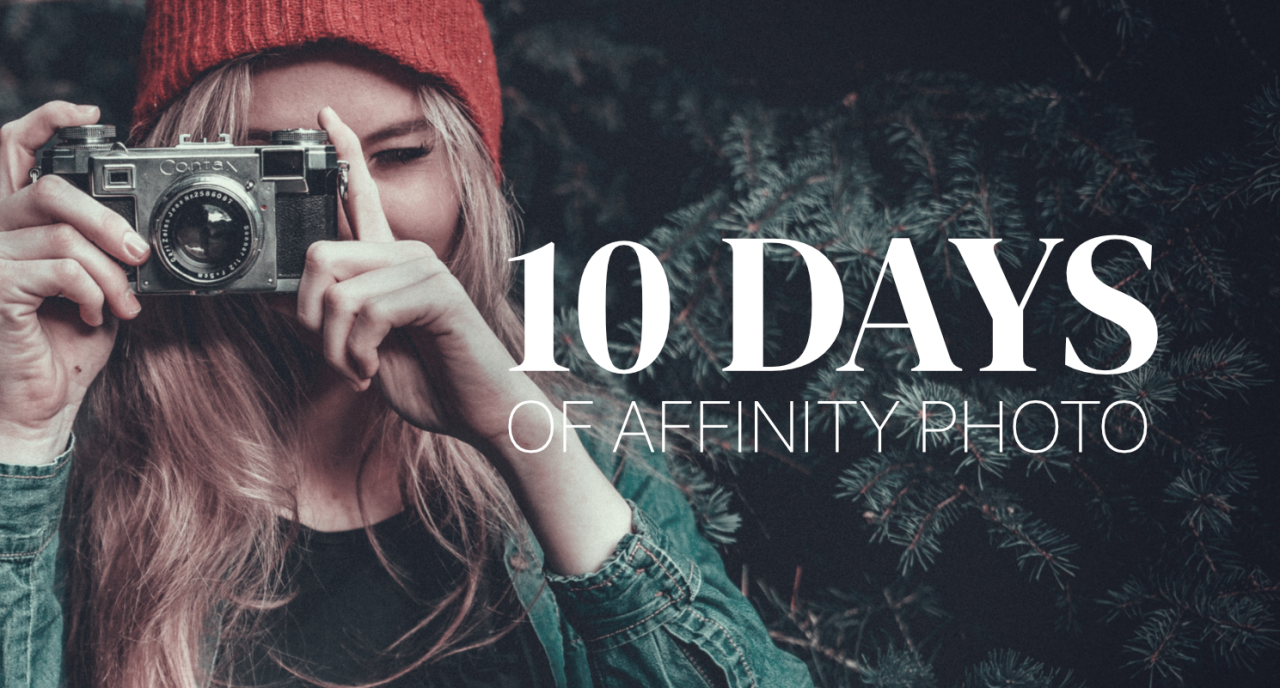
There is a helpful YouTube channel called Affinity Revolution where they give step-by-step tutorials for the Affinity suite. With these tutorials as a reference I decided to set myself another design challenge: 10 days of Affinity Photo.

Tutorial: How to Blend Two Images
My process was: I’d watch a tutorial video whilst recreating what was being created in Affinity Photo. After each project the skills I had learnt were documented in DayOne. (On a side note, DayOne is a beautiful journalling app.)
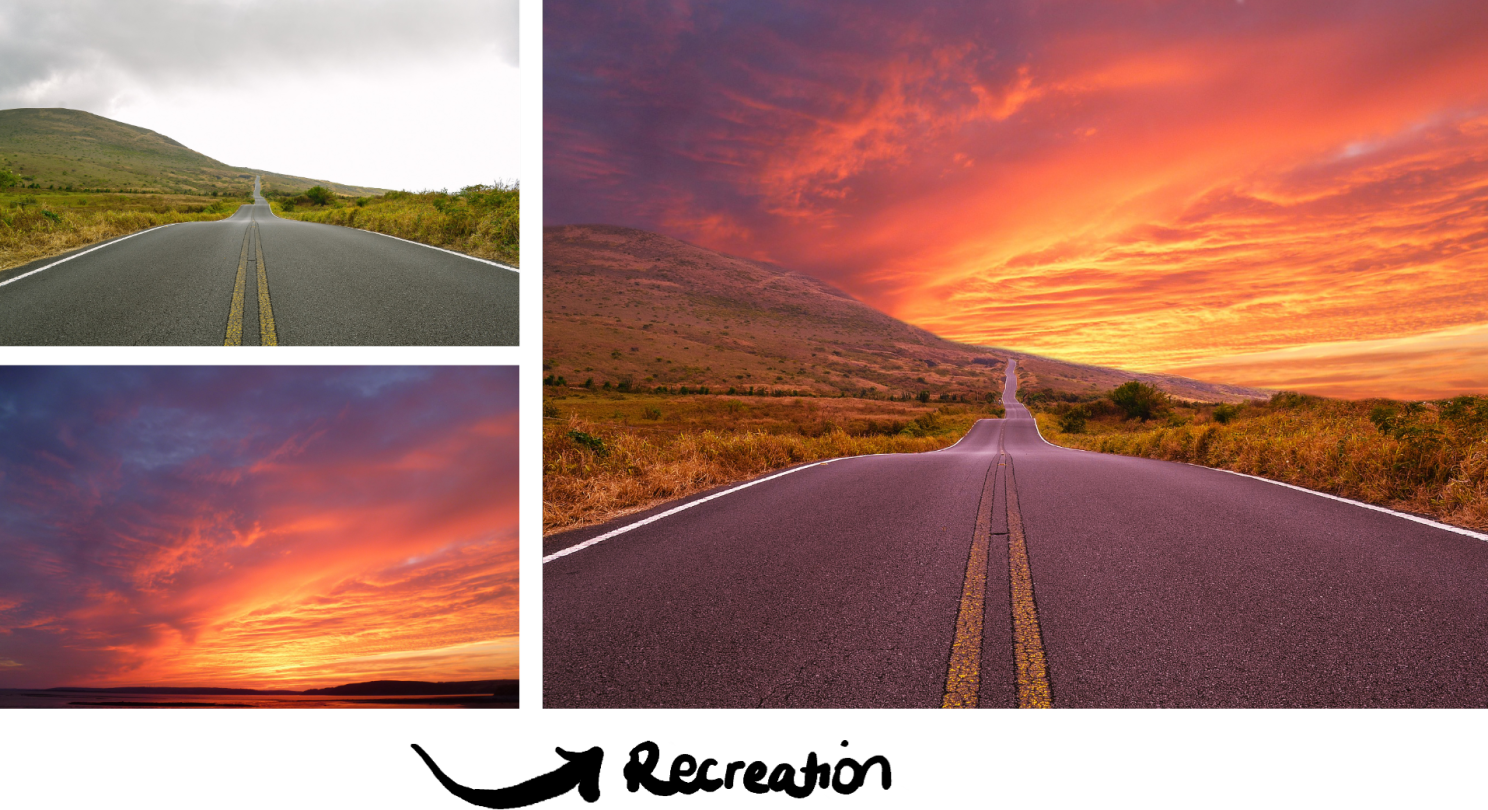
Tutorial: Sky Replacement
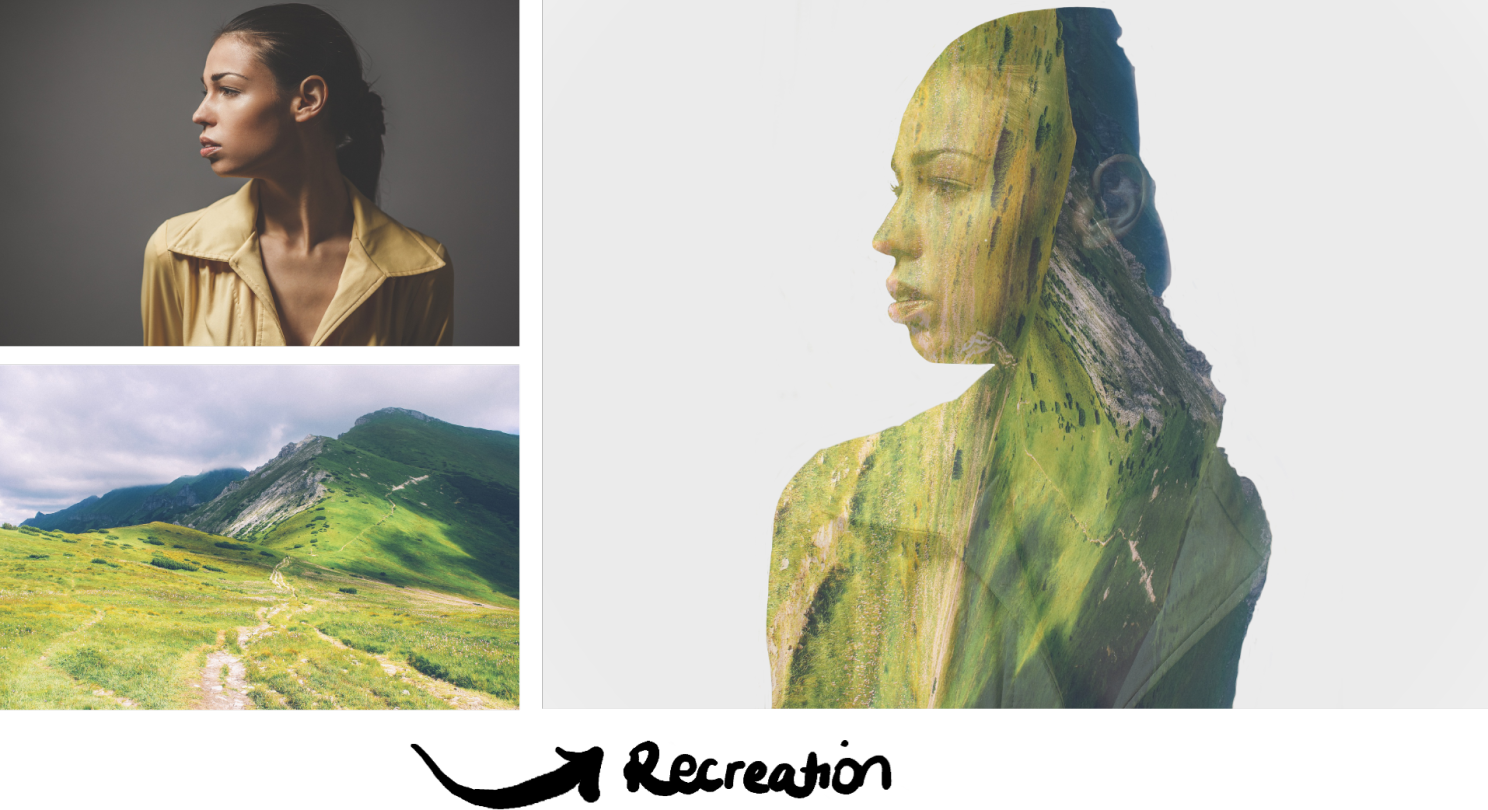
Tutorial: Double Exposure Effect
At the end of the 10-day challenge I gained more tools for my creative toolbox. I learnt photo composition, photo merging, double exposure effects, lighting, shadows and highlights, mask layers, photo editing, when to use certain effects, and the power of the selection tool.
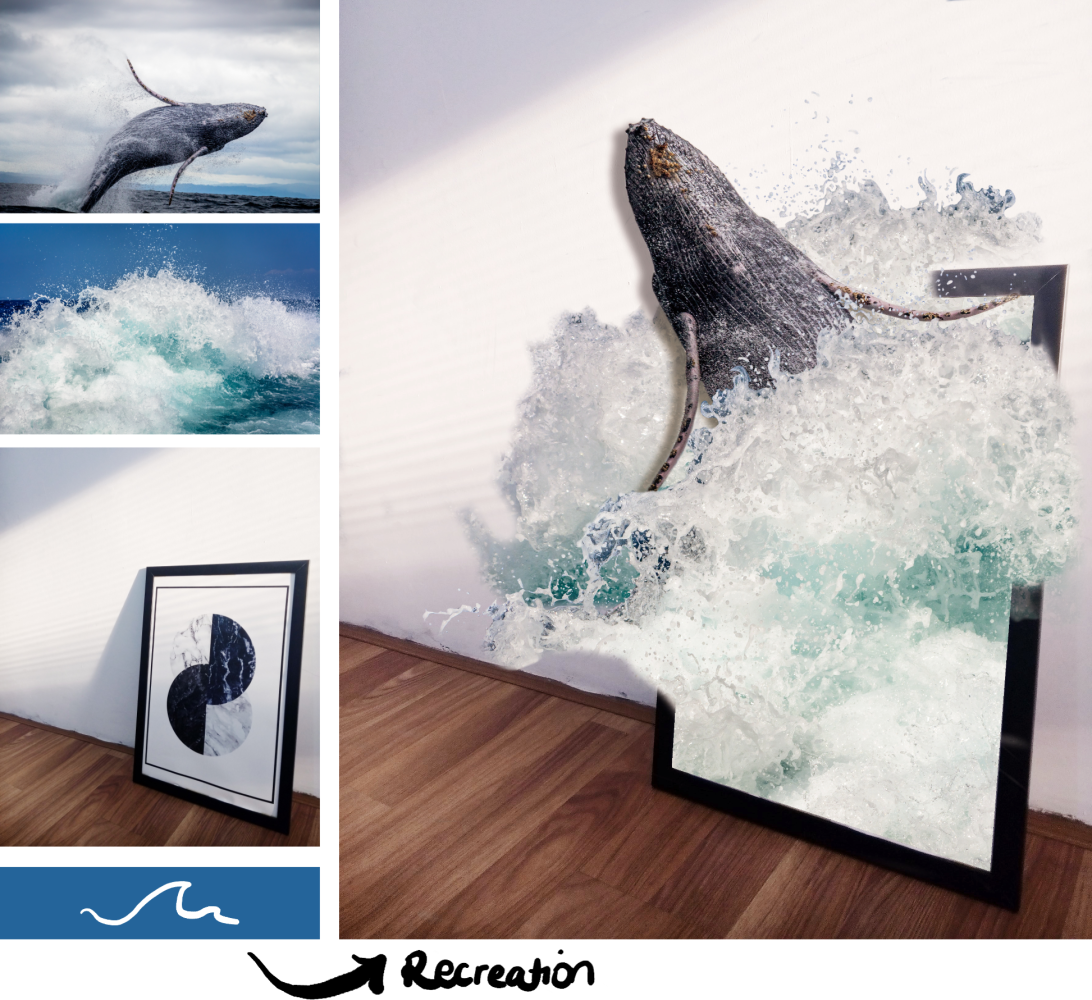
Tutorial: Fantasy Manipulation
Having a better understanding of the tool, I discovered where I would use Affinity Photo over Affinity Designer. The biggest difference is that Affinity Designer is a vector-based program whereas Affinity Photo is a raster-based program.
This means I would choose Affinity Designer if I needed to design a logo or scale a design to a large size, as the vector format allows for infinite scalability. However, if I wanted to do any photo compositions, photo merges, repeating patterns, mock-ups, or photo edits, I would use Affinity Photo.